Prevent sweater snagging by identifying exposed loops and floats during design, tightening or protecting high-risk structures, approving yarn and finished construction, and testing representative areas with a named method. Then inspect trims, labels and packaging for catch points and define pulled-loop defects before bulk. Snagging is not pilling: one creates displaced loops; the other creates surface pills or fuzz.
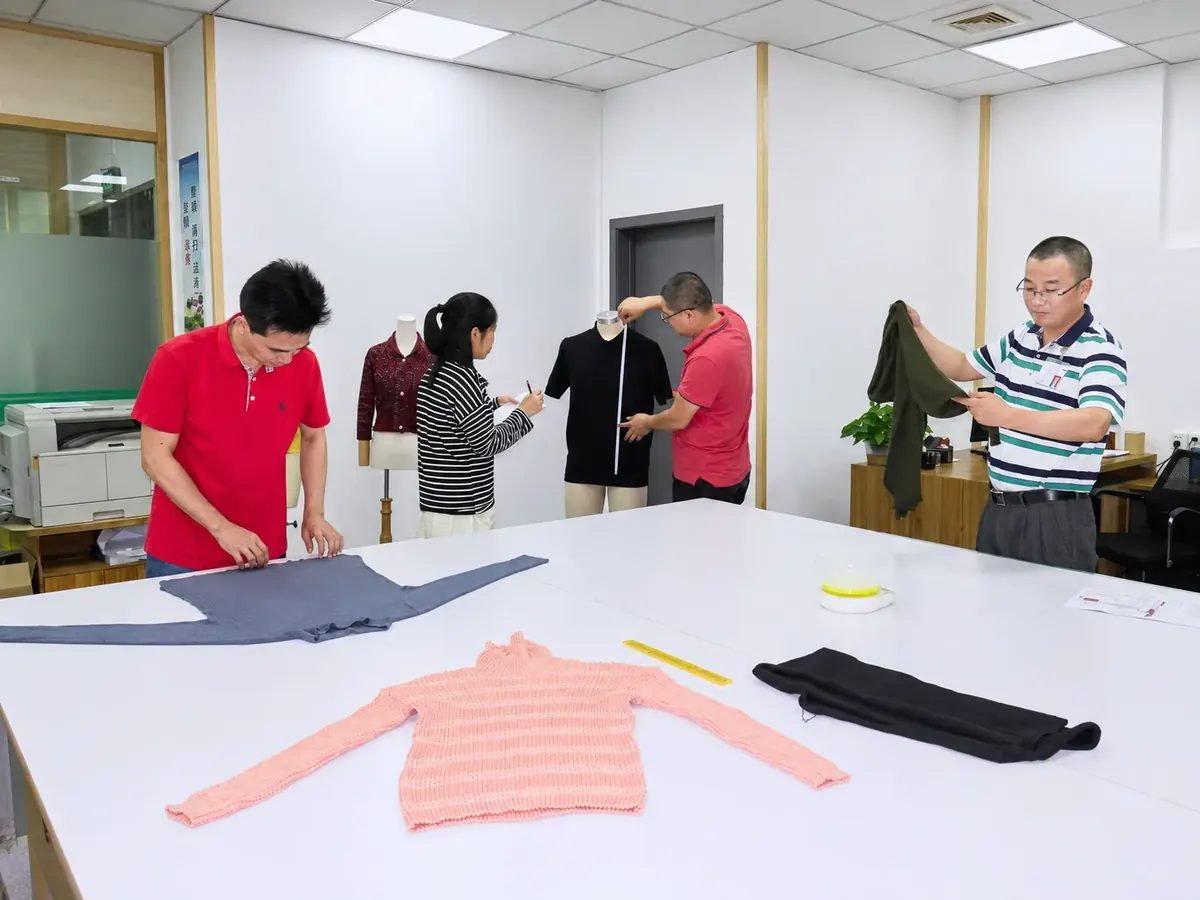
Separate snags from pilling, holes and loose ends
A snag is an undesirable loop pulled from a woven or knitted surface after catching on a point or object. It can appear as one raised loop, a pulled yarn line, distortion around the catch, or a broken yarn that progresses toward a hole. Pilling instead involves fiber entanglement into surface balls; a loose end originates from joining or finishing.
Define photographs and defect language for each condition before inspection. Pulling a snag back into place may hide the loop while leaving distorted stitches or a weakened yarn path. Cutting the loop can convert a cosmetic issue into a broken end, so repair methods need technical approval.
| Risk source | What to review | Possible control |
|---|---|---|
| Long floats | Inside and outside float length and location | Change repeat, catch/tuck strategy or protection |
| Open/loose structure | Loop exposure, stitch length and intended transparency | Adjust density or choose a risk-appropriate structure |
| Hairy/filament yarn | Surface, filament continuity and yarn behavior | Compare yarn construction and finished panel |
| Hardware | Zipper teeth, hooks, rivets, hangtags and sharp edges | Cover, reposition, smooth or isolate contact |
| Packing/handling | Polybag, carton, clips, shelving and operator contact | Remove catch points and trial the full pack route |
Map risk by stitch structure and garment location
Plain jersey can snag, but tuck effects, lace-like openings, loose gauges, boucle surfaces, decorative loops and long jacquard or intarsia floats can increase exposed yarn. Mark high-contact areas such as cuffs, side body, underarm, pocket edges, front placket and interior areas that touch buttons or zippers.
Do not set one maximum float length without considering yarn, gauge, repeat, stretch direction and intended use. A float that survives on a dense fine-gauge panel may catch on a coarse, stretchy construction. Ask the factory to show the reverse side and stretch the panel to the expected wearing state before approval.
Control yarn and knitting together
Fiber type alone does not determine snagging. Filament versus spun form, twist, ply, hairiness, strength, elasticity, yarn effects and surface finish all influence how loops catch and whether the displaced yarn breaks or redistributes. Any substitution should be knitted and finished in the actual structure before approval.
Lock machine gauge, number of ends, stitch program and density-related controls. A looser stitch length may improve drape or softness while exposing more loop. Increasing density can reduce exposure but change hand, weight, dimensions, cost and recovery. The buyer must approve the complete trade-off.
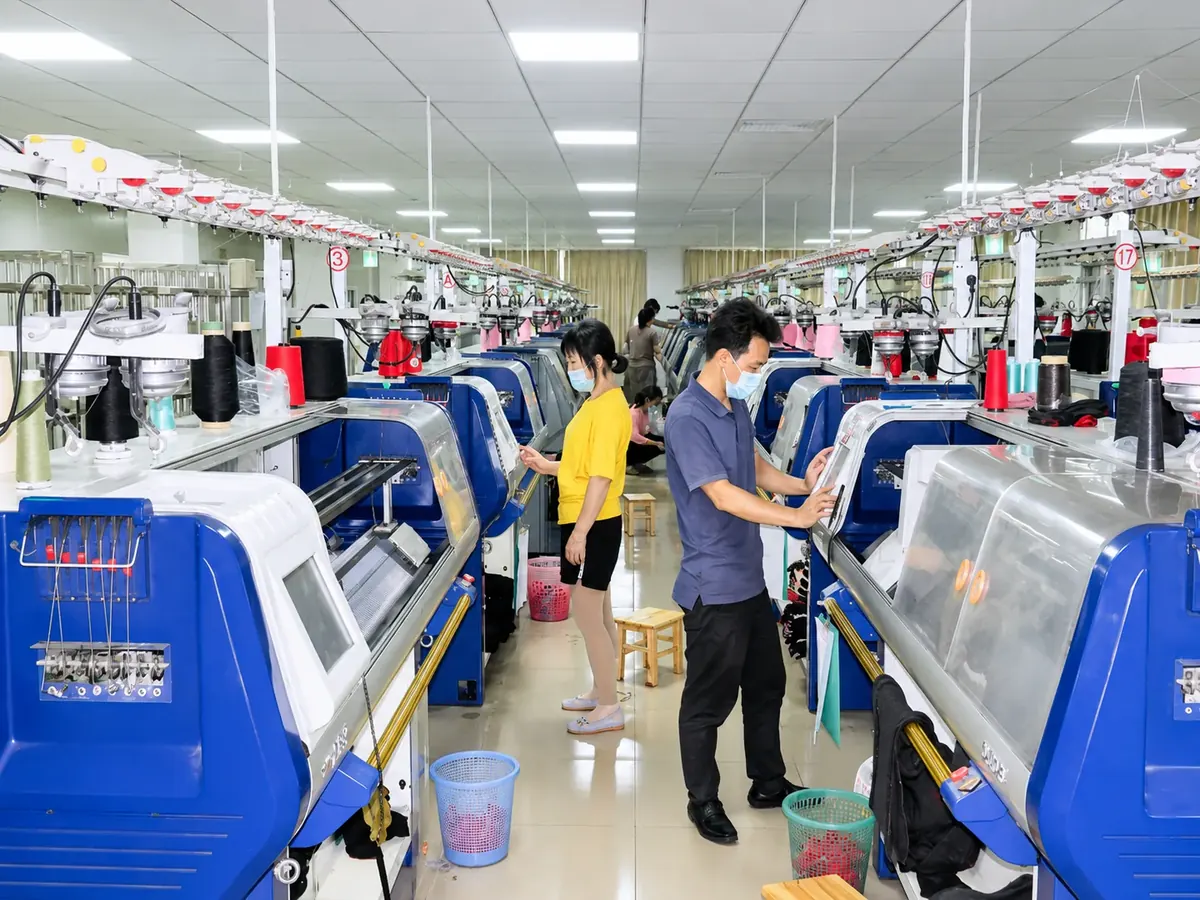
Use a snag test that fits the material
ISO 25086-1:2026 specifies a mace, or spiked-ball, method for determining snagging resistance of knitted and woven fabrics. It covers conditioning, specimen preparation, procedure, assessment and reporting. Its introduction notes that filament yarns are often prone to snagging, while some spun staple yarns and structures can also be vulnerable.
Agree the method, pretreatment, specimen location, test duration, evaluation scale and acceptance level with a qualified laboratory. A fabric specimen may not represent ribs, fashioned edges, seams, intarsia transitions or hardware contact in a whole sweater. Very open or unusual constructions need an applicability check rather than automatic use of a generic rating.
Add garment-level wear and contact review
Inspect a finished sample on the intended wearer or form during normal dressing and movement. Check contact with jewelry, bags or external objects only through a documented, safe simulation relevant to end use. Examine the inside for floats that fingers, labels, buttons or hangers can catch.
Review zippers, hook-and-eye closures, rivets, sharp button edges and hangtag fasteners against the knit. Operate closures repeatedly and fold the garment as packed. A component can pass its own function test yet damage the surrounding sweater during wear or transport.
Trial finishing, packing and warehouse handling
Washing, brushing, steaming and pressing can change loop exposure or weaken a displaced yarn path. Test after the intended finish and care state. Inspect baskets, racks, worktables and tools for rough points during production; isolated repeated snags at one location may reveal a handling source rather than a design defect.
Pack the finished sweater with approved labels, tissue, clips, cards and polybag, then simulate agreed handling and unpacking. Keep metal staples and uncontrolled sharp fasteners away from exposed knit. Confirm that zipper pulls or buttons cannot rub neighboring garments inside a carton.
Define bulk inspection and repair decisions
Classify snag severity by visibility, location, distortion, broken yarn, repairability and customer impact. Establish whether any broken yarn or hole is automatically major for the product, and show boundary examples for isolated small pulled loops. Do not negotiate the classification after the inspection count is known.
Sample across yarn lots, colors, knitting groups, finishes and cartons according to risk. When snags cluster, trace location and production stage. Approved repair should restore structure without cutting load-bearing yarn, changing appearance or weakening the panel; repaired goods require reinspection.
Buyer snagging-control checklist
- Snags, pills, loose ends and holes are separately defined.
- High-risk stitches, floats and garment locations are mapped.
- Yarn, gauge, ends, density and program are locked.
- Representative panels are tested after intended finishing.
- The named snag method is checked for applicability.
- Whole-garment movement and hardware contact are reviewed.
- Packing materials and handling routes contain no catch points.
- Bulk defect boundaries and repair rules are approved.
- Substitutions trigger renewed panel and garment evidence.
Yushengda develops custom knitwear in wool, cotton, acrylic, viscose, cashmere and blends across 3GG–16GG, subject to the project. Use the pilling-risk guide, the trim approval guide, or send your stitch artwork, yarn direction, intended use and quantity for an RFQ discussion.
Technical reference: ISO 25086-1:2026, Textiles—Determination of the snagging resistance of fabrics—Part 1: Mace (spiked ball) test method. Select specimen locations and acceptance criteria with qualified textile guidance; the standard does not prescribe one universal rating for every sweater.