Standardize the tool, garment condition, point-of-measure route and reading rule before comparing sweater measurements. A tape reading taken on a stretched garment, a ruler with an unknown zero point or an inspector measuring over a different fold can create a false defect—or hide a real one. Approve the method on a production-intent sample, record the tool identity and repeat the same method after washing, finishing and packing.
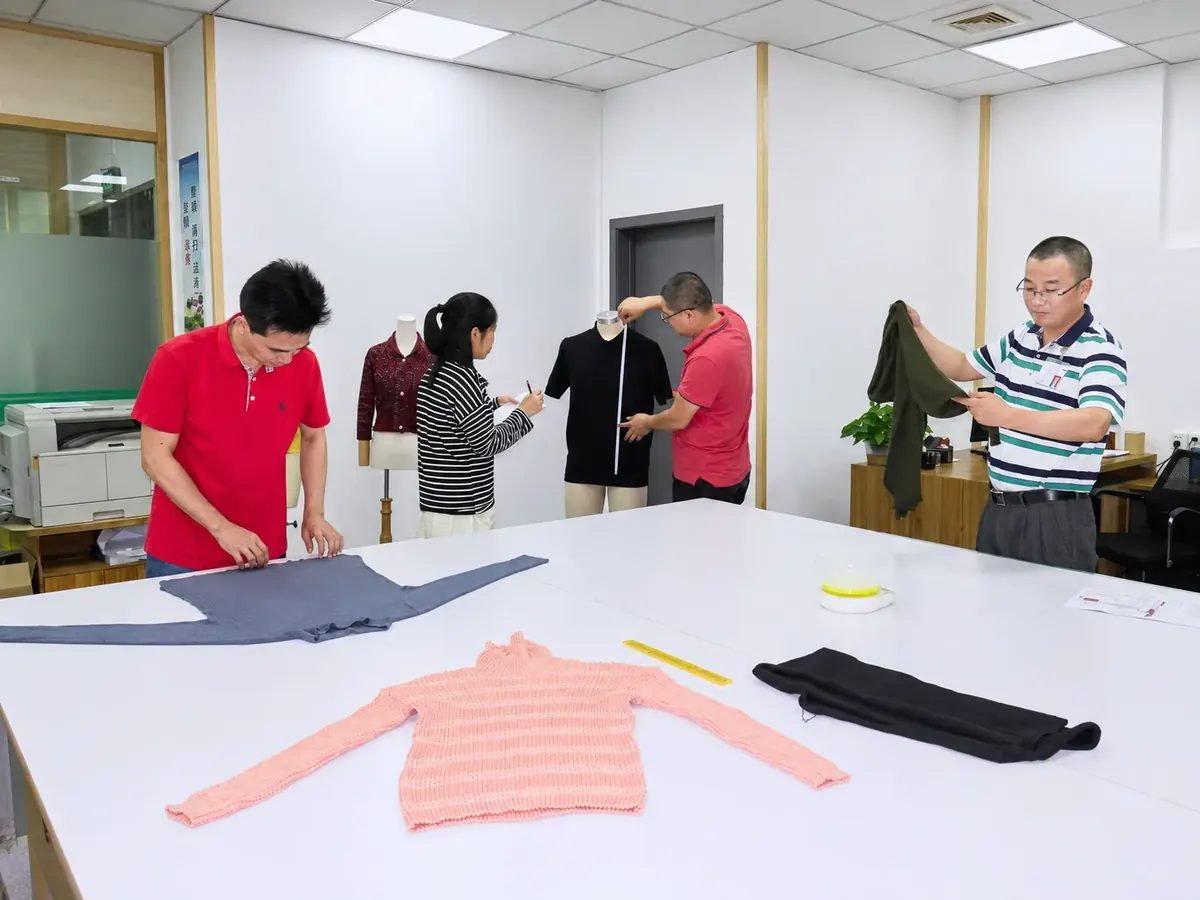
Why a tape reading is not automatically comparable
Knitwear changes shape when it is lifted, pulled, steamed, pressed or laid on an uneven surface. The same chest can produce different numbers if one person measures edge to edge while another follows the curve, if one sample is freshly pressed and another has relaxed, or if a tape is held at an angle. Tool differences add another variable: flexible tapes, rigid rulers, gauges and scales can each be appropriate for different characteristics, but only when their use is defined.
Measurement control is not about forcing every sweater into a universal procedure. It is about ensuring that buyer, factory and inspector are answering the same question. Define the garment condition and route first, then select a practical tool that can be checked and replaced without changing the decision rule.
Define the point of measure in words and pictures
For every POM, name the start point, end point, direction, contact condition and whether the garment is relaxed, extended or shaped. Examples include chest measured straight across at a named underarm line, body length from high-point shoulder to hem, sleeve length from a defined shoulder or raglan point, and cuff opening measured relaxed or after a specified extension.
Show the route on a numbered sketch and a sample photograph. State whether seams, ribs, plackets, collars or hems are included. “Measure chest” and “measure sleeve” are not sufficient for a three-dimensional sweater with dropped shoulders, curved armholes or mixed construction.
| Method field | What to specify | Risk if missing |
|---|---|---|
| Garment condition | Flat, relaxed, extended, washed, pressed or conditioned | Temporary shape is mistaken for size |
| Start/end points | Landmarks, seam inclusion and route | Two operators measure different geometry |
| Tool | Tape, ruler, gauge or scale and identity | Readings shift with tool flexibility or zero point |
| Contact | Light contact, no stretch, or defined extension | Pressure changes the knit dimension |
| Reading rule | Resolution, rounding and tolerance comparison | Borderline values receive different decisions |
| Record | Size, color, lot, date and measurer | Result cannot be traced or repeated |
Select tools by characteristic
Use a flexible tape for curved or circumference-related routes only when the tape is held without adding tension. A straight ruler or calibrated metal rule may be better for flat spans, rib depth or placement offsets. A scale is needed for garment weight, but weight must state whether the garment is dry, conditioned, packed or carrying temporary moisture.
Do not treat a phone photograph with a ruler as a complete measurement record. Perspective, camera angle and garment lift can change apparent distance. A photograph can support identity and show the route, while the controlled record retains the actual value, tool and condition.
Check zero, length and tool condition
Before an inspection, verify the tape or ruler’s zero point, readable graduations, straightness, fraying, stretched sections and unit system. If a tool is damaged or its markings are unclear, replace it rather than estimating a correction. For a scale, record the calibration or verification status required by the buyer’s procedure and confirm that the platform is stable and tared.
Tool verification does not make an undefined POM valid. A perfectly readable tape still produces inconsistent results when operators use different landmarks or garment conditions. Keep tool checks and method approvals as separate records that support one another.
Approve the method on a sealed sample
Use the approved yarn, gauge, stitch, construction, finish and size. Demonstrate each high-risk POM on the sealed sample and record a short method note. Have a second trained person repeat the reading without seeing the first value. Investigate material differences before deciding that one person is “wrong”; the route may be ambiguous.
Record repeat readings where the knit is highly flexible, and define whether the buyer uses one reading, an average or a specified repeat rule. Do not create a new averaging method after a result falls outside tolerance. Any method change should be documented and approved before it affects a release decision.

Control conditioning and handling
State how long the sweater rests after washing, drying, steaming, pressing or unpacking before measurement. Lay it flat without smoothing away designed fullness or stretching an edge. If a collar, cuff or hem requires an extension test, define the force or distance, hold time and release observation separately from the relaxed measurement.
For finished garments, record whether labels, hangtags, inserts or packaging were removed. A compressed carton can temporarily shorten a body or flatten a cable. Do not re-press or block an outlier before the original condition is recorded; otherwise the evidence of the issue disappears.
Make size-set and inspection results traceable
Every result should identify style, revision, size, color, yarn or dye lot, finish batch, sample or carton, date, measurer, tool and condition. Keep the approved POM sketch beside the tolerance chart. For a size set, compare small, base and large sizes using the same method. A single middle-size result cannot prove grading consistency.
At third-party inspection, provide the current chart, sealed sample, method images and tool requirements before the visit. The inspector should report actual values and conditions, not only “pass” or “fail.” If a dispute occurs, repeat the measurement with both parties observing the route and record the reason for any revised result.
Connect measurement method to post-wash decisions
Wash and finishing can alter dimensions and shape. Use the same POM route before and after the intended process, while clearly labeling the condition. Do not compare a pre-wash stretched reading with a post-wash relaxed reading and call the difference shrinkage. A dimensional-change assessment needs a named method and defined conditioning.
Yushengda develops wool, cotton, acrylic, viscose, cashmere and blended knitwear across 3GG–16GG, subject to the confirmed project, and can coordinate buyer-defined measurement and inspection controls. These verified capabilities do not create universal tolerances; provide the style-specific chart, method and acceptance rules in the RFQ.
Buyer checklist
- Each POM has start/end landmarks and a visual route.
- Garment condition and conditioning time are written.
- Tool type, unit system and verification status are recorded.
- Contact pressure and extension rules are explicit.
- Rounding, resolution and borderline decisions are defined.
- Results identify style, size, color, lot, date, tool and measurer.
- Small, base and large sizes use the same method.
- Original outlier condition is preserved before rework.
- Third-party inspectors receive the current chart and sealed sample.
For related controls, see measurement tolerances after washing, size-set approval and third-party inspection preparation. To standardize a new program, send Yushengda the POM chart, sample revision, yarn, gauge and destination requirements.