Approve seam alignment on the finished, production-intent sweater—not from a front photograph alone. Map every join, identify the pattern landmarks that must meet, specify the joining method and review the inside as well as the face. Then check the garment flat, worn and after the intended wash and pressing route. A strong seam that is visibly displaced, twists the body or breaks a stripe is still a commercial defect.
Why knit seams drift between sample and bulk
Knitted panels are flexible. Their edges can relax, curl, stretch or contract differently according to yarn, gauge, stitch, density, finishing and handling. During linking or sewing, an operator may feed one edge faster, stretch a panel to match another or begin at a different landmark. Washing, steaming and blocking can then change the apparent position again.
Patterned styles add another layer. Stripes, cables, jacquard, intarsia, engineered ribs and artwork repeats create visible reference points. A seam can meet at the shoulder but miss at the hem; a side seam can be mechanically secure yet interrupt a stripe. The buyer should define which alignments are essential and which variation is acceptable before bulk.
Map the seam system in the tech pack
List shoulder, armhole, sleeve, side, neckband, placket, pocket, hood and trim joins. For each, state the joining route—linking, overlock, flat seam or another approved method—plus seam direction, inside appearance, securing of starts and ends, and any reinforcement. Mark the pattern landmarks: center front, center back, stripe line, cable repeat, artwork edge, armhole notch or hem point.
Use a numbered seam map and an inside-out sketch. “Match the pattern” is incomplete unless the buyer identifies where matching starts, the allowed offset, whether the face or reverse is controlling and how the result is judged after finishing. Keep the seam map tied to the style revision and size range.
| Control point | Evidence to retain | Risk if unclear |
|---|---|---|
| Join identity | Seam map, method and direction | Different operations are treated as equivalent |
| Landmarks | Notches, stripe/cable/artwork reference points | Panels meet at one point but drift elsewhere |
| Feed and tension | Attachment sequence and handling instruction | One edge is stretched to force a match |
| Inside finish | Securing, bite, bulk and loose-end standard | Face looks acceptable while seam is weak or bulky |
| Post-finish state | Wash, press, block and conditioning record | Alignment changes after the approved sample |
Approve a full construction sample
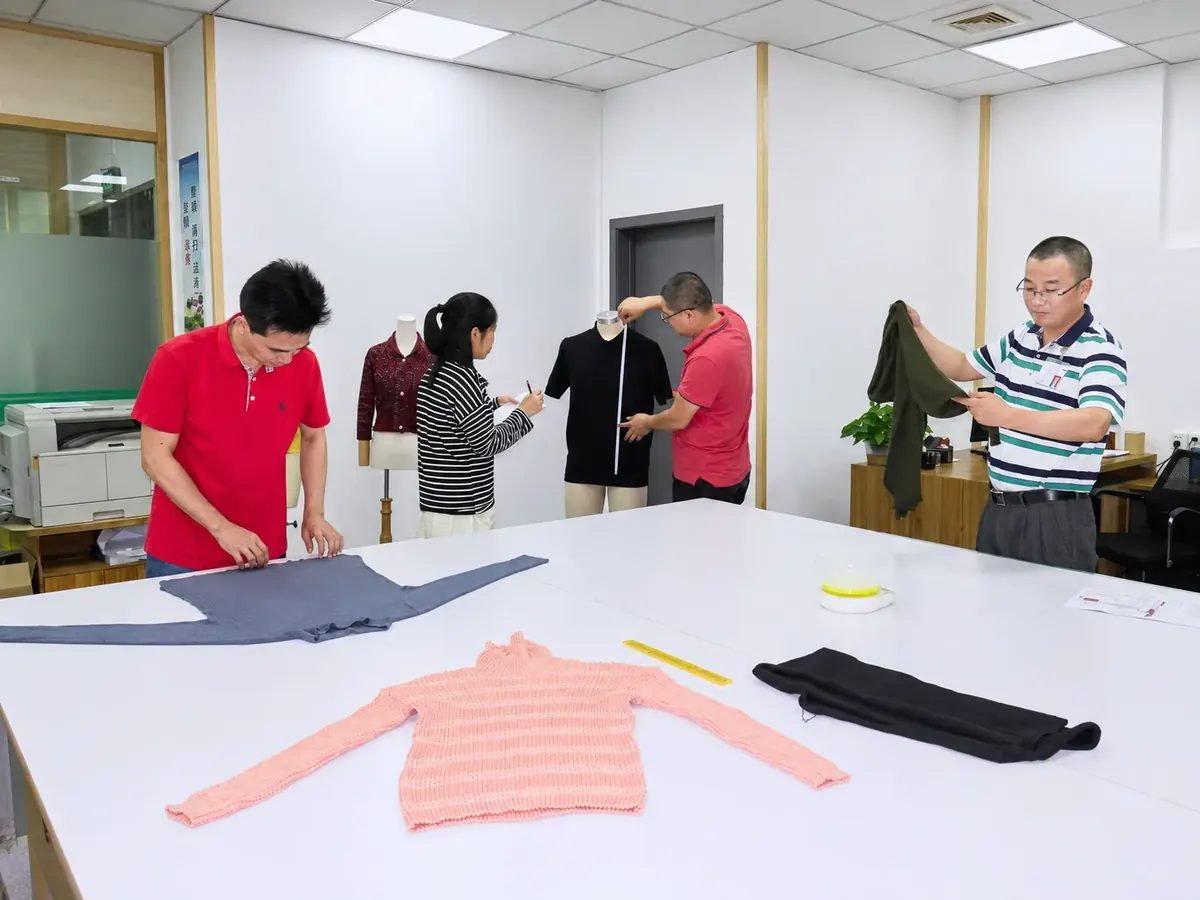
Use the intended yarn or approved substitute, gauge, stitch, trims and finish. Review a garment or representative panels that include every high-risk join. Photograph front, back, sides, inside-out seams and close-ups under consistent lighting. Retain the physical sample with its yarn, color, size and revision identity.
Lay the garment flat without stretching. Check shoulder and side seams for straightness, armhole and sleeve joins for symmetry, neckline and placket for level, and motif continuity across each seam. Measure offsets from stable landmarks rather than judging by eye alone. Then view the sweater on a suitable form or wearer; a seam can appear aligned flat but rotate when the body takes shape.
Separate alignment from seam security
Record two decisions. Alignment covers visible location, stripe or motif continuity, symmetry, seam angle and interaction with ribs, cables or artwork. Security covers open loops, skipped bites, holes, loose ends, seam opening, excessive bulk and comfort. Passing one does not prove the other.
If a seam opens, identify the affected section and whether it can be safely undone and relinked. If the seam is secure but displaced, investigate panel orientation, notches, feed and pattern placement. Do not accept a stronger but visibly wrong seam as an automatic correction.
Check size grading and repeat behavior
Pattern repeats do not always land at the same relative position across sizes. Review the smallest, base and largest relevant sizes. Confirm whether a stripe is intended to align at the shoulder, side or hem, and whether a cable or jacquard repeat may be interrupted intentionally at a shaping point.
Use the same landmark definitions for each size. A seam that meets at center front in the base size may move relative to an artwork panel when grading increments change. Record the approved rule rather than relying on one photographic example.
Review after washing, pressing and conditioning
Run the intended wash, dry, steam, press and blocking route, then allow the garment to condition before review. Compare seam offsets, stripe continuity, body twist, armhole shape, sleeve hang and neckline level with the pre-finish reference. Record any manual reshaping; otherwise a later operator may not know that the sample depended on extra handling.
Do not force an unstable seam into place with aggressive stretching or pressing. If the body rotates after wash, investigate spirality, panel geometry, linking and finishing separately. If only one join drifts, compare its local construction and feed with a stable join. Keep observations open until evidence identifies the cause.
Create a first-off checkpoint
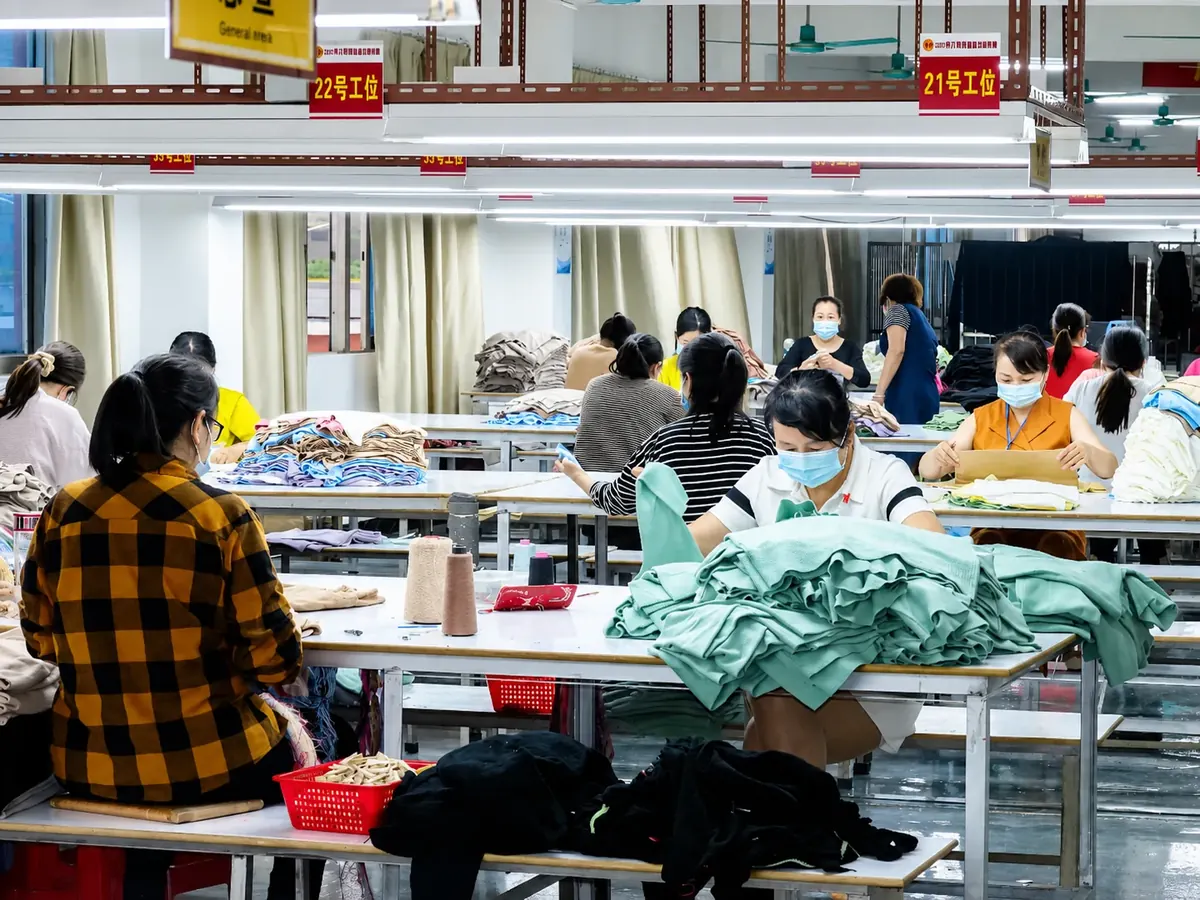
Before all panels enter the line, inspect first-off joins from each relevant machine, operator group, color and size. Confirm the current seam map, yarn identity, approved sample and alignment landmarks are present at the workstation. Stop the route when a repeated displacement appears; do not wait for final inspection to discover that an entire color group was joined from the wrong notch.
At early bulk, sample by style, color, size and linking bundle. Record the join, observed offset, defect class, affected quantity and disposition. Repairs should be rechecked for both alignment and security after the same finish route.
Yushengda scope and buyer evidence
Yushengda develops wool, cotton, acrylic, viscose, cashmere and blended knitwear across 3GG–16GG, subject to the confirmed project, and can coordinate buyer-defined construction and customer-nominated inspection. These verified capabilities do not establish a universal seam tolerance or pattern-matching rule. Put the seam map, approved sample, size set and acceptance criteria in the RFQ and production record.
Buyer checklist
- Every seam and joining method is mapped.
- Pattern landmarks and controlling face/reverse are named.
- Feed, tension and attachment sequence are documented.
- Alignment and seam security are approved separately.
- Small, base and large sizes are reviewed.
- Wash, press, block and conditioning effects are checked.
- First-off and early-bulk checkpoints have stop authority.
- Repair, reinspection and change triggers are written.
For related controls, see linking seam integrity, spirality and side-seam twist and jacquard and intarsia approval. To review a new style, send Yushengda the seam map, artwork repeat, yarn, gauge and size chart before bulk release.