Approve a sweater shoulder and sleeve as one fit system, not as separate measurements. Lock shoulder position, slope, armhole shape, sleeve pitch, sleeve length, bicep and cuff together on a production-intent sample. Review the garment relaxed, on an appropriate form or wearer, and after the intended wash and finish. Then verify the smallest, base and largest relevant sizes. A generous chest width cannot compensate for a sleeve that twists, a shoulder that migrates or an armhole that restricts movement.
Why shoulder balance is a knitwear sourcing risk
Knitted panels can stretch, relax, grow, shrink or torque as they move through knitting, linking, washing, drying, steaming and packing. The shoulder seam and sleeve must accommodate that behavior while preserving the intended silhouette. If front and back seam lengths are mismatched, or if the sleeve is attached at the wrong pitch, the garment may show diagonal drag lines, a rotating sleeve, a raised front hem or pressure at the underarm.
Oversized, dropped-shoulder and set-in styles have different relationships between body, armhole and sleeve. A drop shoulder is not simply a regular block made wider. A cardigan with a front opening can pull differently from a pullover. A bulky cable, brushed surface or washed finish can change drape after the initial sample. Treat the visible shoulder position as an outcome of pattern, material, construction and finishing—not as one isolated number.
Separate pattern, sewing and material observations. A sleeve that twists before washing may indicate notches, panel orientation or pitch. Rotation that appears only after washing may involve torque, uneven relaxation or finishing. A shoulder that looks low can be intentional, while a neckline that migrates backward may indicate imbalance. Record the observation first; do not assign a root cause from one photograph.
Define the complete shoulder-and-sleeve block
Send a flat sketch and a numbered measurement diagram. Identify natural or dropped shoulder point, shoulder width, slope, front and back armhole depth, armhole shape, sleeve-cap or sleeve-head relationship, sleeve pitch, bicep, forearm, cuff opening, sleeve length route and underarm point. For raglan, saddle or unusual constructions, identify the seam path and front/back balance instead of borrowing set-in terminology.
State the base size, graded sizes, intended layering and body reference. If the design is relaxed or oversized, explain the intended drop and volume in words and measurements. Record whether the sleeve length is taken from shoulder seam, center-back neck, raglan neck point or underarm. A single “sleeve length” value can hide a changed shoulder position and make two samples appear comparable when they are not.
| Control point | Approval evidence | Risk if unclear |
|---|---|---|
| Shoulder position | Point/drop, slope and front/back landmarks | Neck migration, uneven silhouette or wrong style attitude |
| Armhole | Depth, shape, seam length and movement review | Restriction, drag lines or excessive body pull |
| Sleeve pitch | Pattern revision, notches and neutral-arm photographs | Twist, forward/backward rotation or poor hang |
| Sleeve length | Named route plus relaxed finished POM | Apparent length changes caused by shoulder drift |
| Material/finish | Yarn, gauge and post-finish condition identified | False approval from a substitute or unwashed sample |
| Size set | Representative sizes and grading rule | One size hides a construction or proportion error |
Approve a neutral stance before movement
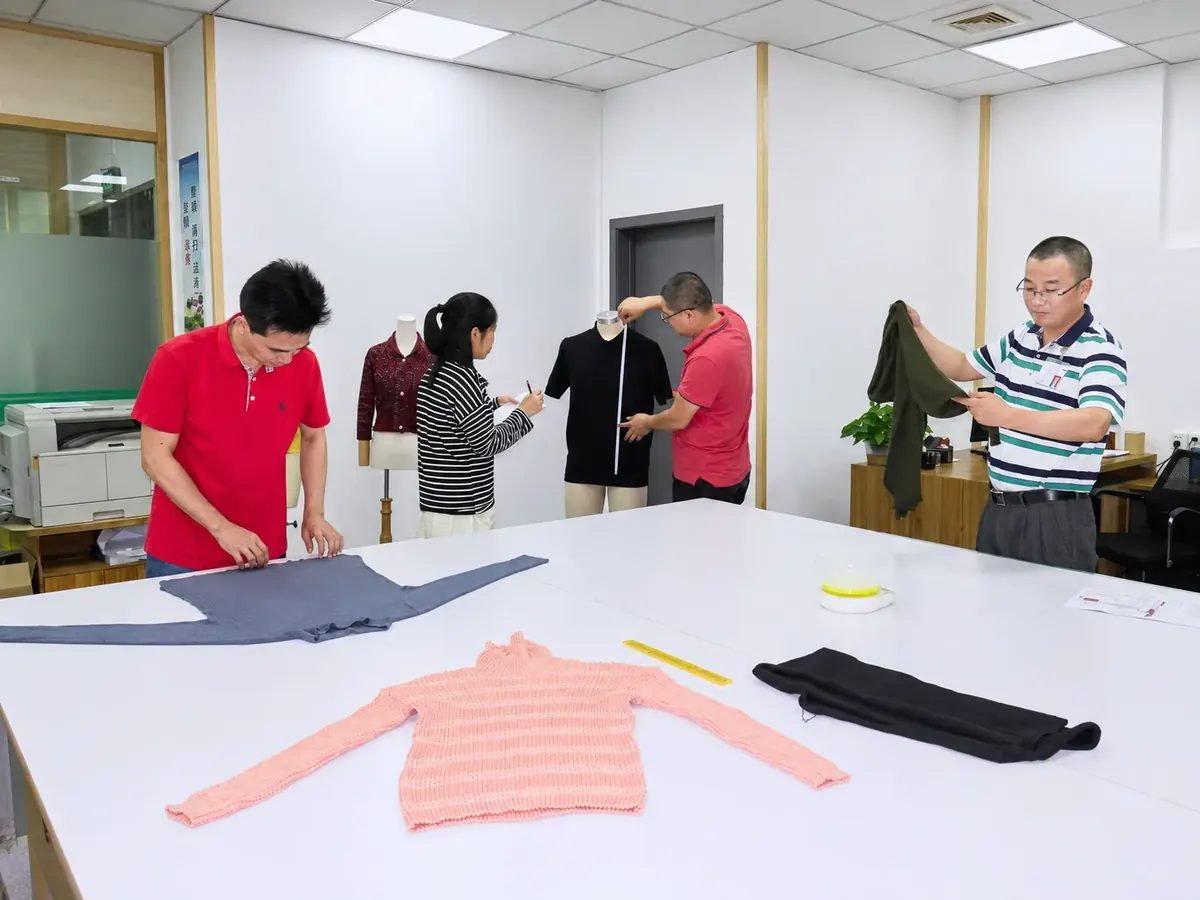
Condition the finished sample under the agreed method, lay it flat without stretching and photograph front, back and both sides. Check left-right shoulder width, seam position, neckline center, armhole contour, sleeve seam rotation, cuff orientation, body hem and side-seam balance. Compare the physical sample with the approved pattern and record style, size, yarn, color, finish and revision.
Then review the sample on a suitable form or wearer in a neutral stance. Let both arms hang naturally; do not hand-style the sleeves into place. Look for one sleeve sitting forward, a shoulder seam falling toward the front or back, a diagonal crease from armhole to hem, a collar that pulls or a hem that lifts. A flat measurement can be within range while the three-dimensional balance remains wrong.
For a cardigan, close and open the front if the placket affects balance. For a hooded style, review hood down and worn because hood weight can move the shoulder and neckline. For a drop shoulder, confirm that the intended drop remains symmetrical and does not become uncontrolled sagging. The approval record should show what is designed volume and what is a defect.
Test movement and sleeve pitch
Use a short, repeatable movement sequence appropriate to the product: arms relaxed, arms forward, cross-body reach, overhead reach, sitting and ordinary dressing. Record front drag, upper-back tension, underarm restriction, cuff migration, sleeve twisting and whether the garment returns toward its intended position after movement.
Do not “fix” a twisted sleeve by adding bicep width before checking pitch, armhole and seam feeding. Extra width may increase bulk while the sleeve still points in the wrong direction. Likewise, tightening the neckline may hide backward migration temporarily while creating a dressing problem. Comments should identify the affected relationship and the required pattern or construction review.
Photographs should use the same posture, camera height and styling for each comparison. They support the record but do not replace a physical fit review. If the buyer cannot receive the sample, nominate a qualified local reviewer or agreed form and document what could not be assessed remotely.
Wash and finish before locking the fit
Use the actual yarn or an explicitly approved substitute, intended gauge and stitch, construction route, trims and finish. Wash, dye, spray, brush, dry, steam and press as planned for the order. Condition the garment before measuring. Compare shoulder width, armhole depth, sleeve length, bicep, cuff, body length, neckline and side seams before and after the route.
Inspect for growth, shrinkage, spirality, seam rotation, shoulder distortion, sleeve twist, cuff change and altered drape. A sample that was hand-shaped after washing may look correct while the bulk process produces a different result. Record the actual process and handling, including any blocking or pressing that affects the final shape.
ASTM D5585-21 explains that body measurement tables can provide a baseline for apparel design when fabric type, ease, styling and fit are considered. The standard is a body-measurement reference, not a sweater pattern or a universal ease rule. Use the buyer's target wearer and intended layer to decide fit, then approve the finished garment against its own size chart.

Check grading across the size set
Review how shoulder width, drop, armhole depth, sleeve pitch, bicep, cuff and length change from size to size. A fixed pitch can behave differently as armhole depth and shoulder position grow. A pocket, artwork, cable or stripe may also shift relative to the shoulder seam. Confirm left and right sleeve rules where the design is mirrored or intentionally asymmetric.
Measure the same landmarks in every size and use consistent relaxed conditions. Check the smallest size for dressing and arm mobility, the base size for the approved silhouette and the largest size for shoulder drop, sleeve weight and underarm comfort. Do not approve grading by multiplying one chest increment across every dimension.
Translate approval into bulk controls
At production handoffs, inspect panel orientation, notches, seam allowance, sleeve attachment sequence and sewing feed. Operators should not stretch one panel to force mismatched notches together. First-piece checks can isolate shoulder and sleeve construction before hood, decoration or final finishing is added; the completed-garment check confirms their combined effect.
Sample across machines, operators, sizes, colors, yarn lots and production timing. Hold a group when the shoulder or sleeve differs from the sealed reference, when a material or finish is substituted, or when repeated rotation appears. Compare the affected garments with process records before deciding whether correction is pattern, sewing, material or finishing-related.
Buyer shoulder-and-sleeve release checklist
- Shoulder position, drop and slope are defined.
- Armhole shape and depth are linked to the intended movement.
- Sleeve pitch, seam path, notches and length route are released.
- Yarn, gauge, construction and finishing condition are identified.
- Neutral flat and on-body/form views are recorded.
- Movement includes forward, overhead and dressing actions as relevant.
- Pattern observations are separated from sewing and material observations.
- Small, base and large sizes are reviewed for grading behavior.
- First pieces are checked before and after complete finishing.
- Bulk variation is held, traced and dispositioned against the sealed sample.
Yushengda develops custom knitwear in wool, cotton, acrylic, viscose, cashmere and blended yarns across 3GG–16GG, subject to project development. Shoulder, sleeve, armhole and grading requirements must be approved on the actual style and finish. Use the size-set guide, spirality guide and washed-knitwear tech-pack guide, or send the sweater block, size chart, fit photos and finish route for project review.
Primary reference: ASTM, D5585-21 Standard Tables of Body Measurements for Adult Female Misses, for the limited role of body measurements as a baseline when fabric, ease, styling and fit are considered. Competitor articles were reviewed only to identify sleeve-pitch and shoulder-balance buyer questions; no wording, figures, images, cases or factory claims were reused.